

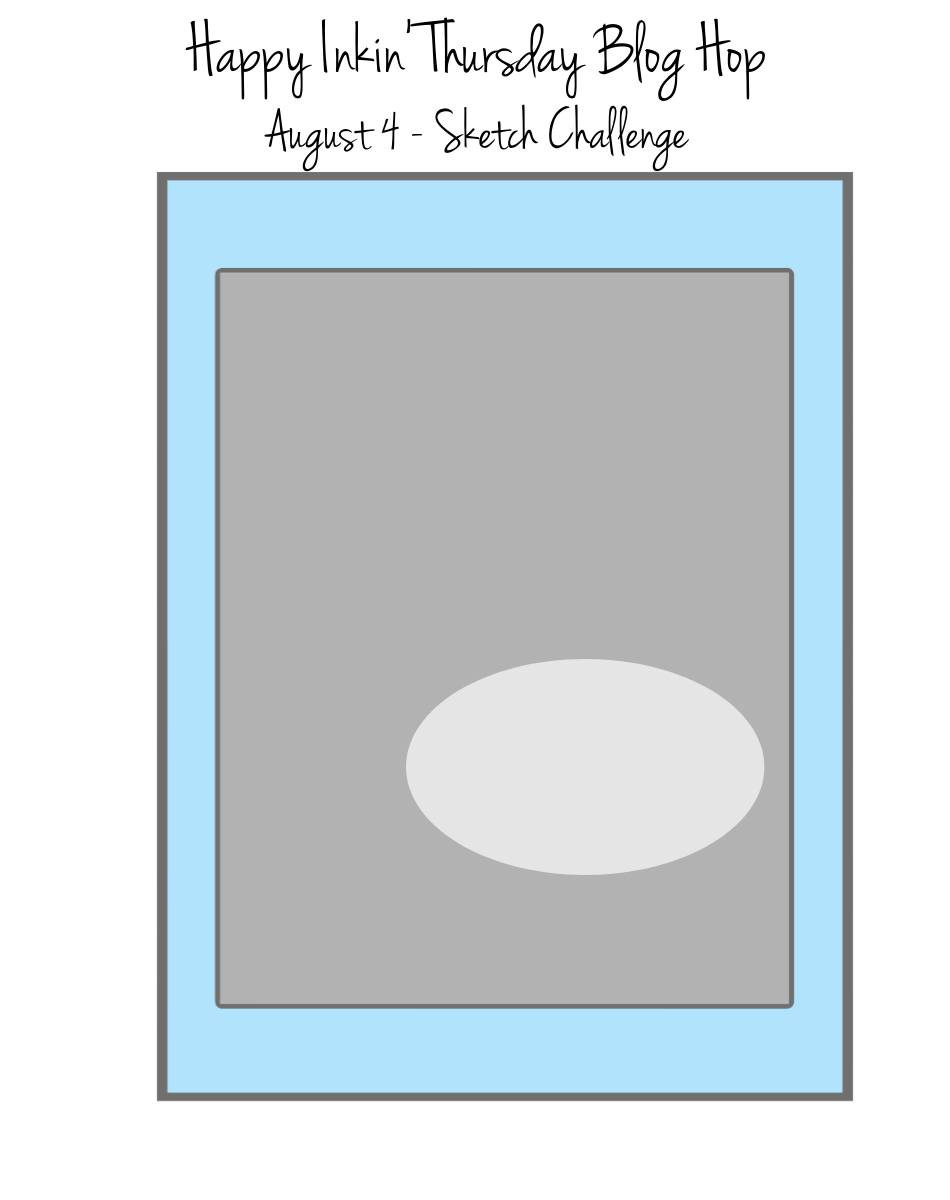
Welcome to the Happy Inkin' Thursday blog hop. You're in for a treat if you have never visited before. It's a weekly challenge and this week we have a theme challenge. Links to the team hoppers are at the bottom of this post.
Here's our theme...
here is what I created for it...
.JPG)
I used the Gathered Wheat Stamp Set to stamp the image and sentiment. My card base is Basic White with a mat of Crushed Curry. I cut a frame of Rustic Harvest Designer Series Paper with the largest die from the Stitched Rectangles Dies and the art panel is cut with the second largest Deckled Rectangles Dies.
I poked holes where the wheat was tied with a rope on the stamped image and ran my Linen Thread to create the tie for the shaft of wheat. Then I adhered the art panel to the card base. Lastly, I adhered five Champagne Basic Jewels for a little bling.
I'm entering my card in the Happy Little Stampers: HLS August Anything Goes Using Dies Challenge.

Product List Clicking on the "next" button will take you to Akiko. Clicking on the names listed below will take you directly to team members and their projects. Thank you for stopping by and hopping with us! I hope you'll be back tomorrow for my fun fold and a couple of fun challenges. I also hope you'll become a follower by clicking on the "follow" button on my side bar and I thank you in advance for that! Now on with the hop!!
Karen Finkle - you are here!
")
 Designer Series Paper")


Links by TheseAreMyStamps.com


")


")


")
")


