Thursday, March 31, 2022

Stampin' Up! Simply Elegant Anniversary Card


Welcome to another HITBH! If you came from Jaimie's site, I'm glad you are continuing the hop. If you haven't then I hope you'll continue to hop using my links below. No matter what, I'm glad you're here. Today we have a sketch challenge and here is what I loosely created for it...
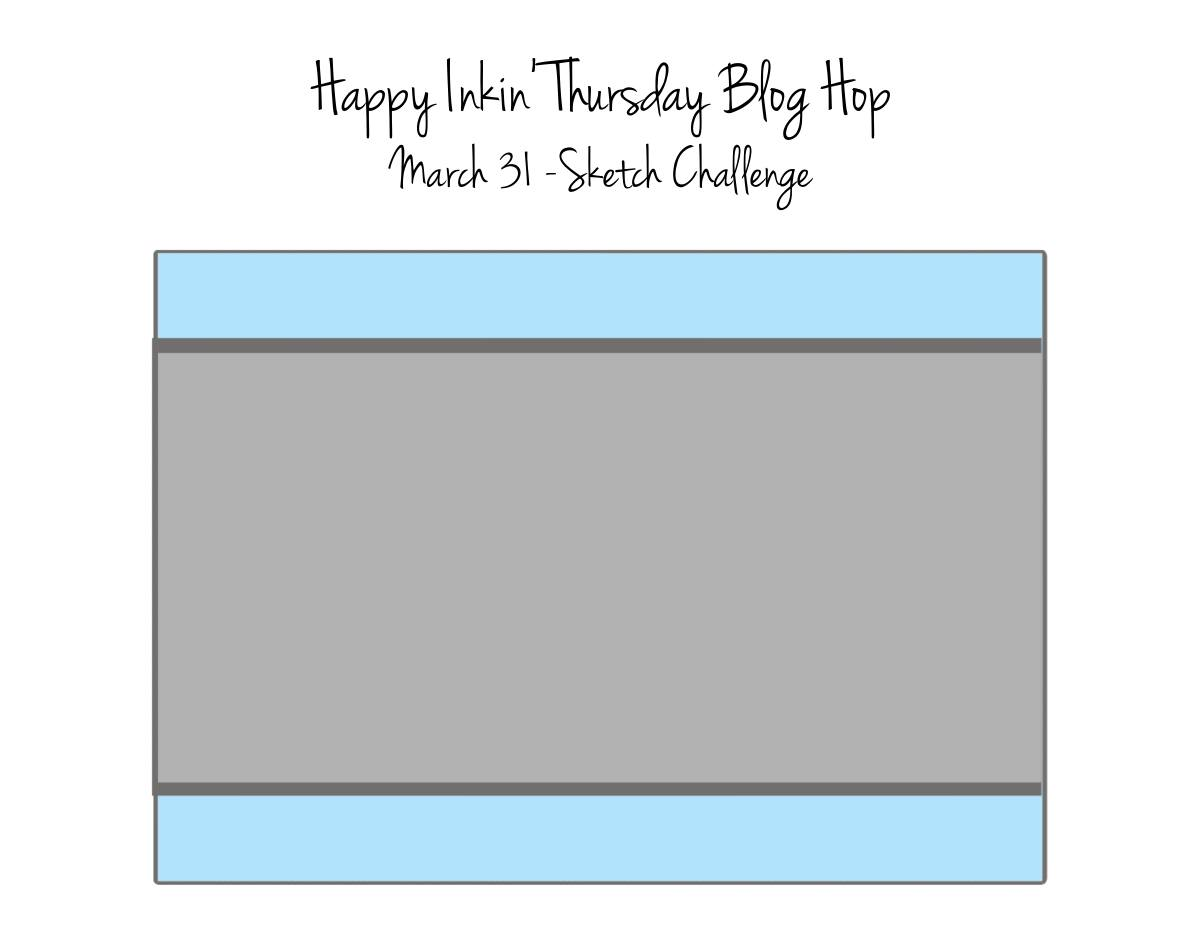
Please tell me you can see the similarity!

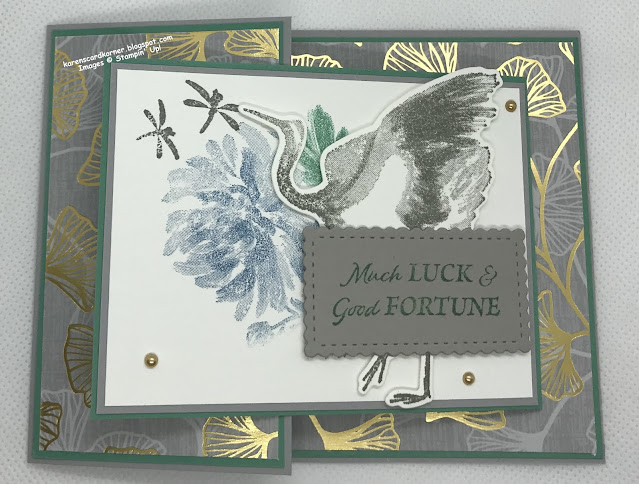
I used the Slim Card Dies, Simply Elegant Specialty DSP and Copper Foil to create my chevron card front. I actually remembered to use my adhesive sheets on the back of the papers so that I didn't get liquid glue all over the Copper Foil. I adhered the cut outs on a Smoky Slate Cardstock base. The sentiment mat is cut with the Ornate Frames Dies our of Copper Foil. The sentiment is from the Love & Happiness Stamp Set. I stamped it on a scrap of Basic White with my VersaMark Ink and heat embossed it with Copper Emboss Powder. Then I fussy cut it and adhered it with a minimum of liquid glue. I adhered the Copper Foil mat to the card front with Stampin' Dimensionals.
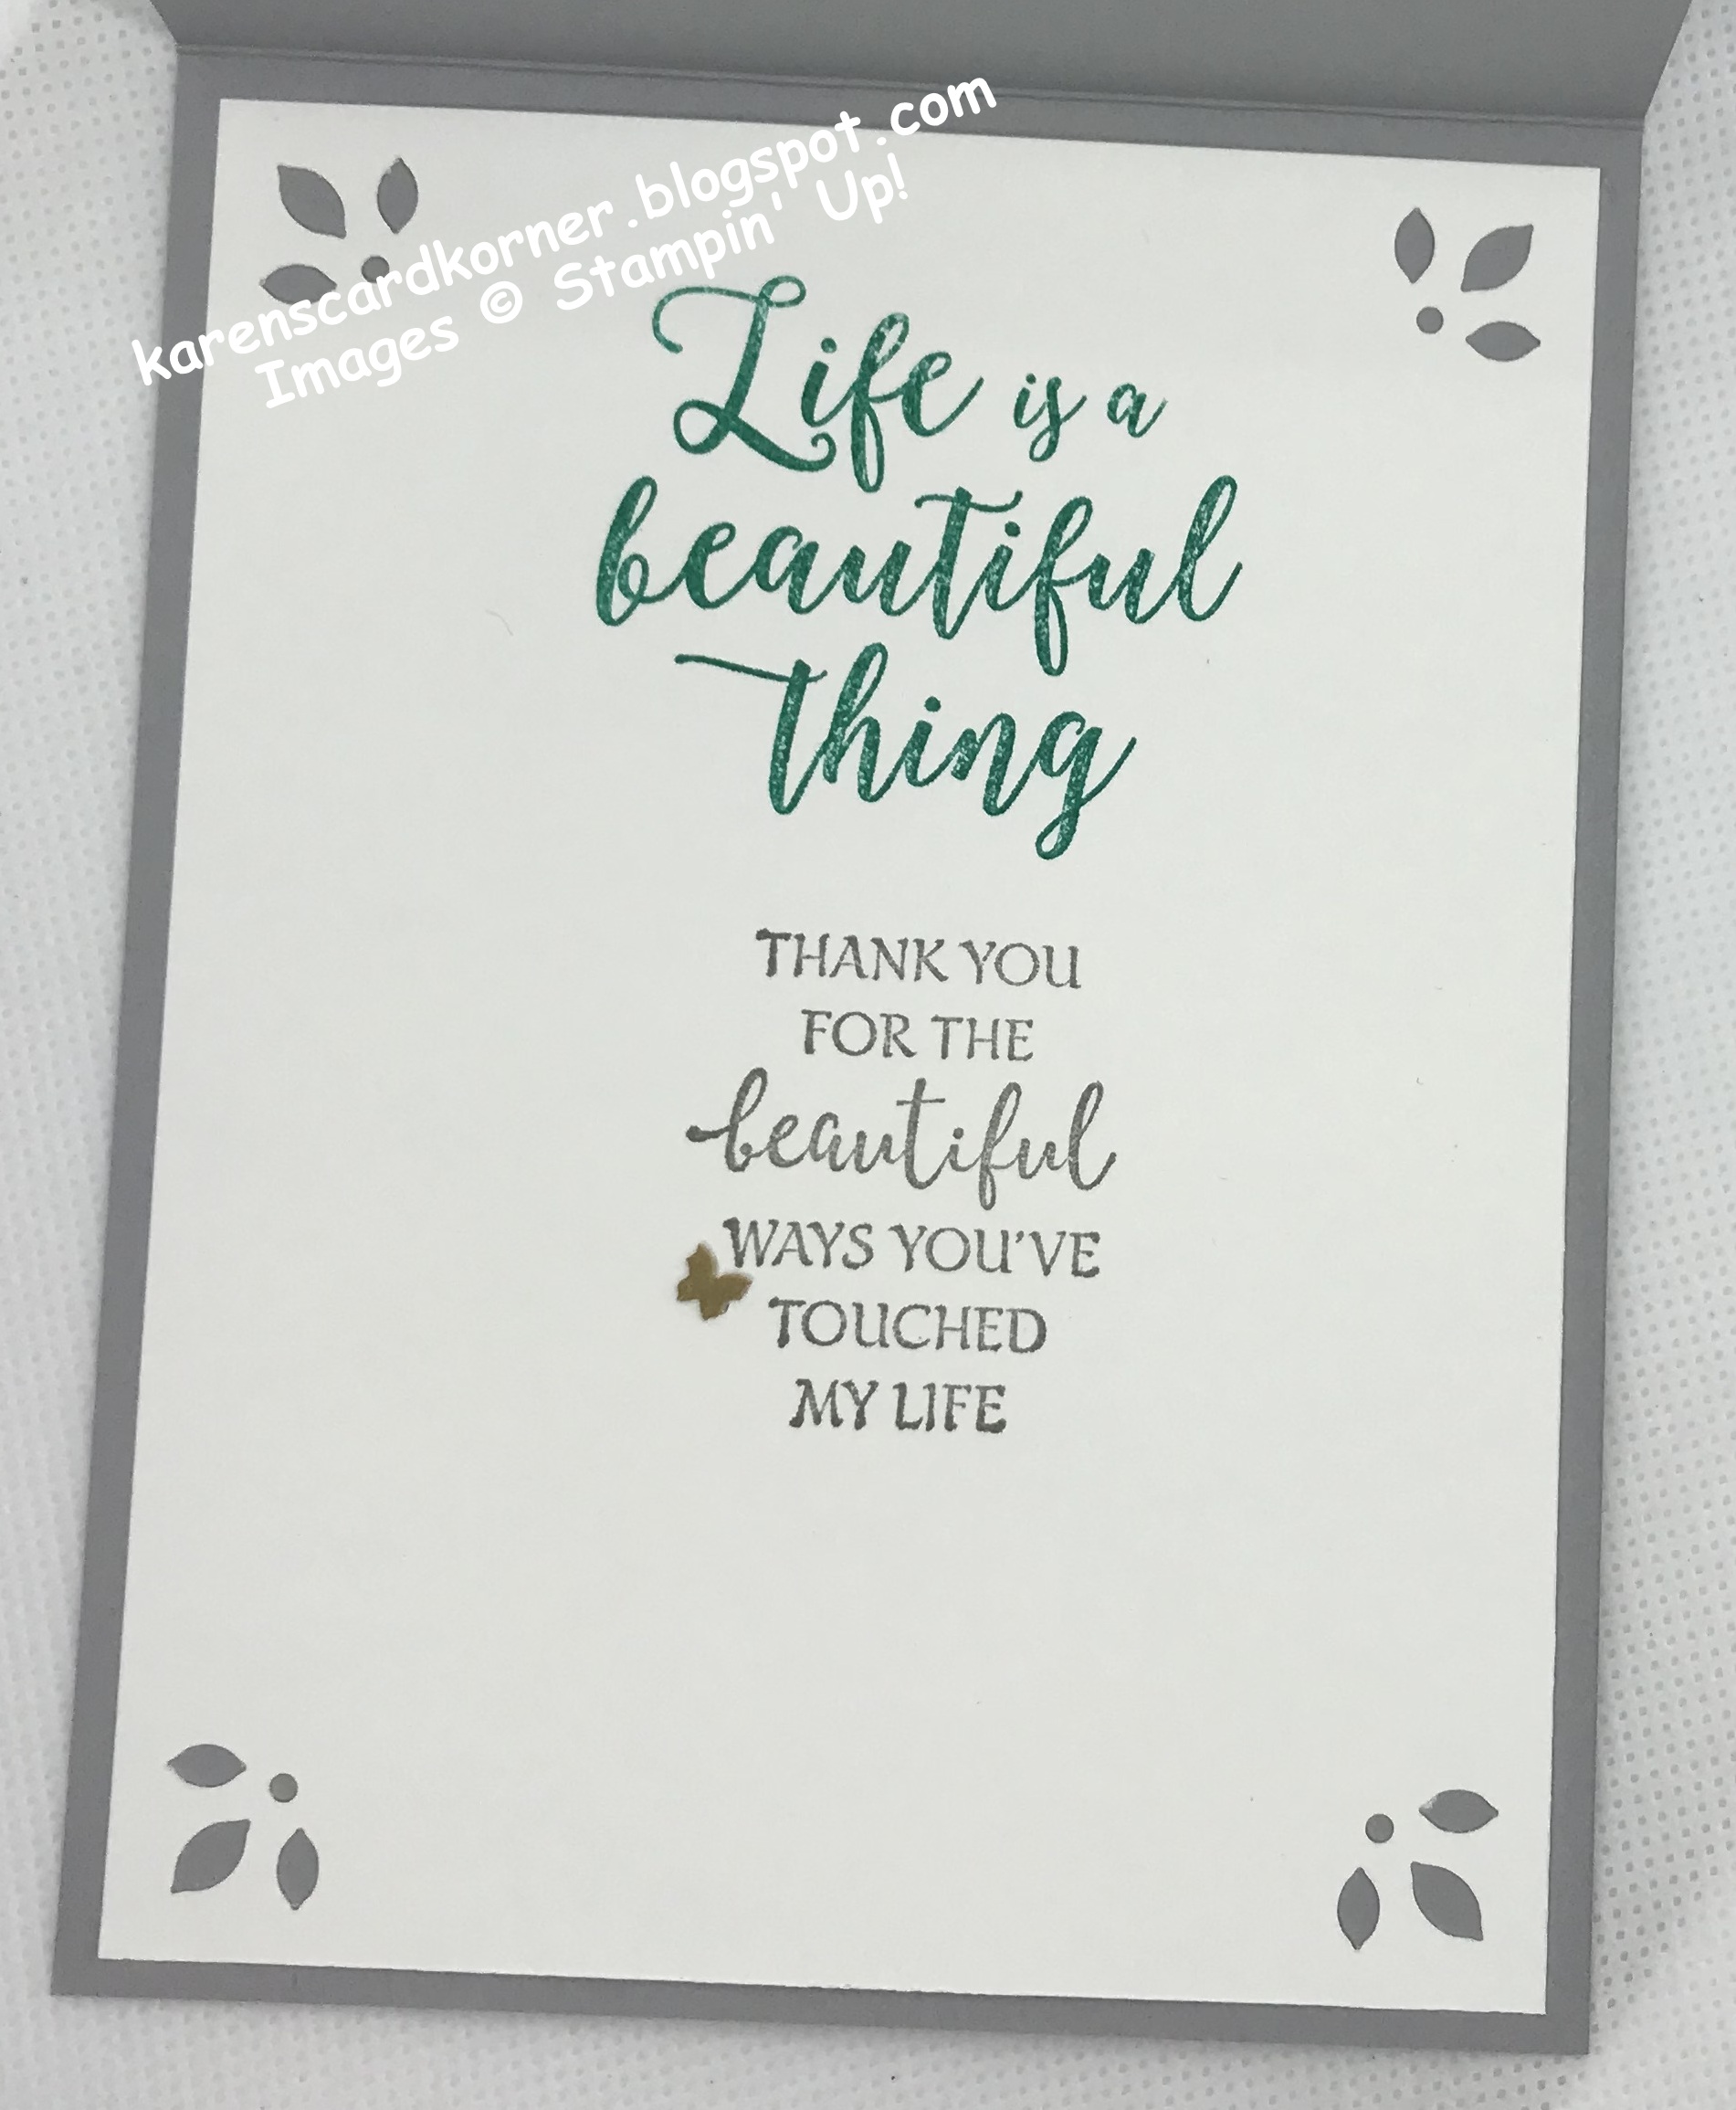
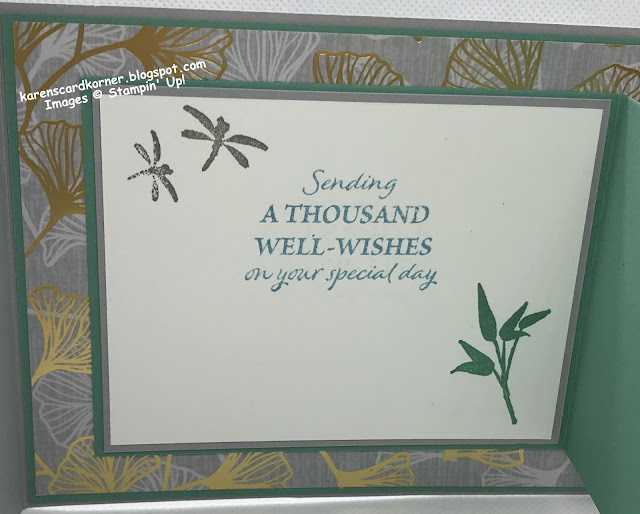
For the inside...
You know why I sponged and stippled it, yes? Uh huh, smudge from ink on my hands! The age-old curse of stampers!! Well, it's done in the soon retiring Cinnamon Cider Ink, as are the stamped sentiments from the Love & Happiness Stamp Set.

The measurements are quite simple:
Card Base: 7 1/2" x 8 1/2", scored and folded at 3 1/2" on the short side.
DSP: 3 3/8" x 8 3/8" and the same for the Basic White inner liner

I'm entering my card in the Krafty Chicks Challenge #605 Week 5 ATG.

Clicking on the "next" button will take you to Akiko. Clicking on the names listed below will take you directly to team members and their projects. Thank you for stopping by and hopping with us!


Amy Koenders
Mary Deatherage
Kristi Gray
Jaimie Babarczy
Karen Finkle - you are here!
Akiko Sudano
Karen Ksenzakovic
Tara Carpenter
Terry Lynn Bright

Partial Product List

Links by TheseAreMyStamps.com

Wednesday, March 30, 2022

Stampin' Up! Dandelion Wishes Thank You Card

Good mid-week, peeps! I was inspired by Let's Squash it Challenge #18 - Emboss/Deboss. Let's see how good the iPhone camera shows it...fingers crossed!


Yes! The top dandelions are debossed (and also upside down!) and the bottom ones are embossed.

I was inspired by my friends' wall art when I was at their house last Friday for a Grief Share luncheon. I wish I had taken a picture of it! But here's a link to a similar one if you'd like to see it.

I stamped the sentiment from the retired Colorful Seasons Stamp Set with Black Stazon on a Silver Foil panel from the Blue Foils 12" x 12" Specialty Paper. I believe the sentiment is the focal point and I hope The Sisterhood of Crafters agree. 

I stamped the dandelion image from the retired Dandelion Wishes Stamp Set with Stazon ink as well. Then I ran the panel through my embossing machine with the soon retiring Dandelions 3D Embossing Folder only on the bottom. Then I reversed the foil in the folder and only ran it through the top. Next I adhered it to a Basic Black mat.

While I had the Blue Foils out, I punched three butterflies with the retired Bitty Butterfly Punch. I slightly bent them in half before adhering them to the card front. I added three Rhinestone Waves Basic Jewels where their heads would be.

For the inside, I used the Colorful Seasons using Bermuda Bay Ink for the top sentiment and the Forever Grapevine Stamp Set (soon retiring) for the second sentiment using Smoky Slate Ink. I added a Brushed Brass Butterfly and punched my corners with the soon retiring Detailed Trio Punch. (That makes me sad!)


Thank you for stopping by today and I hope you'll be back tomorrow for our Happy Inkin' Thursday blog hop.

Partial Product List

Links by TheseAreMyStamps.com

Tuesday, March 29, 2022

Stampin' Up! Get Well Card

Good Tuesday morning, peeps! My card today is one we created in our card group. Sue M. provided the kit for us and she got the idea of the butterfly stencil from Gina K. Here's a link to Gina's video.

Sue had the stencil cut for us but I don't know what die or punch she used and I don't know the stamp except that it was photopolymer. My splatters are from the Stampin' Up! Color and Contour Stamp Set. We used Distress Oxide inks and blending brushes to color the background and butterflies. The sentiment was heat embossed with White Embossing Powder and punched out with the retired Classic Label Punch. It was fun creating this and I'm entering my card in the Make My Monday Challenge #171 Use a Stencil and Three Room Studio Saturday Challenge #78 Use a Stencil.

The inside sentiment is from the Verses Rubber Stamp Company. I added a strip of retired SU Botanical Butterflies DSP to the bottom.


Thank you for stopping by today and I hope you have a beautiful day and that you even see some butterflies flittering by your house. It's a sure sign of spring!


Monday, March 28, 2022

Stampin' Up! Paradise Palms Birthday

Welcome to my last March Monday Makeover Madness! I have two cards for you today. They are both created with basically the same supplies but I made over the first one and you're about to find out why! 

Here's what I used: Palms Dies, Double Oval Punch, A Wish for Everything Stamp Set, Happiest of Birthdays Stamp Set, Tasteful Labels Dies and the Expressions in Ink Specialty Designer Series Paper. First let me show you the 12 x 12 paper package. It is so beautiful! Mine is almost gone so I need to order more...or do I just want to order?!! This is retiring and as of this post, there is still some left.  I do not need more of the same DSP because new will be coming out shortly. Discipline is in order!!!!!


The technique used is one I saw on Splitcoaststampers by Melissa Stout. I should not have decided I wanted to use the opposite side of the paper I had already glued to the Window Sheet. Let me explain how it's done in case you don't want to watch the video by Melissa.

I cut "snippets" of the beautiful paper into 1/2" strips that were 6" long. I adhered them with liquid glue to a 4 1/4" x 5 1/2" window sheet. Then I cut off the excess length. You can definitely use shorter pieces. Then I adhered foam strips to the back side of the window sheet and adhered it to the card base.

On the first card, my window sheet is right up front because of that decision and the glue shows. On the second one, it is in the background and no glue shows. Either way, I'm okay with it because I have to be...lol! It's easier to see IRL.
I used the Palm Dies to cut out the Gold Foil palm tree and the Double Oval Punch to cut out the Gold Foil Scalloped Oval. The sentiment from A Wish for Everything is stamped in Evening Evergreen ink. Everything is adhered with liquid glue. The shininess of the Window Sheet (although it doesn't show in the photos) is growing on me !

Here's the second card...

The sentiment is from Happiest of Birthdays cut out with a die from Tasteful Labels with the edges sponged in Evening Evergreen. No glue showing!

Which one do you like better? 

I'm entering my second card at Pammie's Inky Pinkies Challenge 2213, Snippets Playground Challenge #424 and Craftyhazelnut's Patterned Paper March 2022.

Thanks for stopping by today and have an M & M hug.


Partial Product List

Links by TheseAreMyStamps.com

Sunday, March 27, 2022

Stampin' Up! Many Messages Fun Fold Thank You Card

Good Sunday morning, peeps. Welcome to the last Sunday in March...can you believe it?

Today's card is one that Lisa Curcio showed on her site but didn't demonstrate it with this paper. She did show how to create the fun fold though with different DSP. 

I fell in love with the Simply Elegant Specialty Designer Series Paper and had to create my card with it. Here are the deets...

Very Vanilla Cardstock:  5 1/2" x 8 1/2", scored and folded at 2 1/8" and 4 1/4"
DSP: 4" x 5 1/4"
  • Adhere DSP to inside of card base
DSP for the Z fold panels: 1 7/8" x 5 1/4" (2)
  • Adhere to the front fold and the inner fold
  • With the card base folded in half, put the 4 1/4" fold at the bottom of your trimmer. Line up the left side of the card base at 1 1/2" mark and cut up 3/4".  Slide the card base over to the 4" mark and cut up 3/4". There will be resistance so do it a couple of times. Score from one 3/4" cut to the other on each side of the cut and made a mountain fold out of the 4 1/4" fold and valley folds with the other score marks. This creates your pop up mechanism.
Very Vanilla Cardstock: 3 3/4" x 3 3/4", cut in half diagonally
DSP: 3 1/2" x 3 1/2", cut in half diagonally
  • Adhere together. This will be your pop up inside panel.
  • Adhere the base of the triangle with Tear & Tape to the top of the mechanism. You should be able to open and close the card.
Very Vanilla Cardstock: 3" x 3"
DSP: 2 3/4" x 2 3/4"
  • Adhere together. This will be your big diamond for the sentiment piece
Very Vanilla Cardstock: 1 3/4" x 1 3/4" (2)
DSP: 1 1/2" x 1 1/2" (2)
  • Adhere together. These will be your two smaller diamonds above and below the big one.
More deets...

Line up the point of one of the small diamonds with the top edge of the front fold and do the same for the bottom diamond. Glue only the left sides to the front flap.

Center the big diamond so that one corner is on the left edge of the front flap and equidistant from the top and bottom diamonds and adhere with liquid glue where it should be stuck...not the whole diamond or you'll have a shut and closed base!

Stamp the sentiment from the Many Messages Stamp Set (I cut my stamp out of the single stamp set) in Basic Gray on a scrap of Very Vanilla cardstock. I used a die from the Encircled in Beauty Dies. I also sponged it with Gold ink (retired). Before I adhered it to the center diamond with Stampin' Dimensionals, I put a length of Gold Simply Elegant Trim underneath it, securing it with Stampin' Seal.

I added three different sized Gilded Gems.

Whew! Card done!! I'm entering it in these challenges:
Thank you for stopping by today. I always appreciate the time you take to leave a comment.

Partial Product List

Links by TheseAreMyStamps.com

Saturday, March 26, 2022

Stampin' Up! Flowering Rain Boots Friendship Z Fold

Good Saturday morning, peeps! I just love fun folds, don't you? This one is a Z fold and if you are following me, you'll notice I'm trying to use up my In Good Taste Designer Series Paper! In the making of this card, I was inspired by Laura Neumann.


My card base is retired Powder Pink Cardstock. As I mentioned above, the DSP panels are from the In Good Taste DSP. I used Basic White scraps for my sentiments. The inks I used are Powder Pink (retired), Pear Pizzazz and Sahara Sand.

Card Cuts:

Powder Pink: 5 1/2" x 8 1/2", scored and folded on the long side at 2 1/8" and 4 1/4" (creating a ziz zag, a/k/a Z fold); 3 1/8" x 7/8" (mat for sentiment on front)

Basic White: 3" x 3/4" sentiment on front; 1 3/4" x 1 1/4" inside sentiment; scrap for tulip, stem/leaves and boots

Instructions:

1. Stamp on Basic White scrap:

  • boots with Sahara Sand
  • tulips with Powder Pink
  • stems with Pear Pizzazz
  • Cut out with dies and adhere to each other with liquid glue

2. Stamp "Rain or Shine" with Sahara Sand Ink on the Basic White 3 x 3/4" and     adhere to the Powder Pink mat.

3. Adhere the In Good Taste DSP to the folds and card base with liquid glue. 

4. Adhere front sentiment and boots to the front fold with glue. Only put glue on     the edge that will attach to the fold or your card will be sealed shut...lol! Ask         me how I know!!

5. Stamp the inside sentiment on the 1 3/4" x 1 1/4" Basic White Piece in Sahara     Sand Ink.  Making sure the inside sentiment doesn't show when the card is         closed, adhere it to the card base with liquid glue.

I'm entering my card in these challenges:
The Card Concept #171 - Inspiration Photo (I was inspired by the boots, once again, and the flowers. The style is Clean and Simple.

Thank you for stopping by today and I hope you enjoyed this easy and quick card.

Friday, March 25, 2022

Stampin' Up! Crane of Fortune Wedding or Birthday?

TGIF, peeps! I don't know whether my card today could serve as a wedding card or a birthday card. What I do know is that it's a CASE of my friend and upline, Mary Deatherage. I had three ladies in to make this card and everyone enjoyed it. I hope you'll try it too if you haven't already created a Joy Fun Fold. I've done several in the past and I can feel another one coming on!


My granddaughter loves ginko so this will be for her wedding or birthday, whichever comes first! 

Measurements are listed below along with a partial list of supplies. My card base is Smoky Slate. The mats are Soft Succulent. Mary used Just Jade and I must admit I like that color better with the Symbols of Fortune Specialty Designer Series Paper

I used the Crane of Fortune Stamp Set for all my images and sentiments. The inks I used are Balmy Blue, Soft Succulent and Smoky Slate. I cut the crane out with the Good Fortune Dies. The sentiment is cut out with the Stitched So Sweetly Dies. Both the sentiment and crane are adhered with Stampin' Dimensionals.

For the embellishments, I used three Metallic Pearls.

The inside consists of a smaller card adhered to the larger card.


The card base is Soft Succulent with a mat of Smoky Slate. The sentiment is stamped in Balmy Blue and the leaf image in Soft Succulent. The dragonflies are Smoky Slate.

Thank you for stopping by today and if you would like full instructions, please leave a comment with your email address or email me. My email address can be found in my profile.

Measurements:   

  • Smoky Slate cardstock: 4 ¼” x 8:, scored and folded at 2 ½” for card base; 3 1/8” x 4 1/8” (2);  1¾” x 3 ¼” scrap for sentiment
  • Soft Succulent cardstock: 3 ¼” x 8 ½”, scored and folded at 4 ¼”for smaller card; 2 3/8” x 4 1/8”; 4 1/8” x 5 3/8”
  • Basic White Cardstock: 3” x 4” - (3) (2 for images and 1 for crane cut out)
  • Symbols of Fortune Specialty DSP: 2 ¼” x 4”; 4” x 5 ¼”; 6" x 2 1/4" piece for envelope

 Partial Product List

Links by TheseAreMyStamps.com

Thursday, March 24, 2022

Stampin' Up! Flowering Rain Boots Friendship Card


Welcome to another HITBH! If you came from Sue's site, I'm glad you are continuing the hop. If you haven't then I hope you'll continue to hop using my links below. No matter what, I'm glad you're here. Today we have a theme challenge and here is what I created for it...

and here is our theme...


I used the Flowering Rain Boots Stamp Set and Rain Boots Dies, along with the Color and Contour Stamp Set for my card. My card base is Thick Basic White Cardstock with a panel of In Good Taste Designer Series Paper. I cut a mat of Magenta Madness Cardstock and adhered it to the DSP.

Next, on a piece of Basic White that I cut out with a rectangle from the Stitched Rectangle Dies, I stamped the sentiment from Flowering Rain Boots in Magenta Madness Ink and added Smoky Slate Ink splatters from the Color and Contour Stamp Set. The boots are stamped in Smoky Slate Ink.

Then, I stamped the flowers on scrap Basic White cardstock using Smoky Slate ink. I cut them out with the Rain Boots Dies and colored the flowers with my Light and Dark Magenta Madness Stampin' Blends. Because I went outside the lines, I used my Color Lifter, which only turned the oops into a light pink. So, I took my Blushing Bride Stampin' Write Marker and colored the outside rim. There's usually a fix for everything! I adhered the flowers with Stampin' Dimensionals.

I added three of the 2020-2022 In Color Square Gems and the card front was done.

For the inside I stamped the sentiment in Magenta Madness. I stamped another set of flowers in the reverse colors as the ones on the front. I had an Easter basket leftover from another card (In Good Taste DSP) and adhered it to the card, then placed the die cut flowers on top.

I'm entering my card at The Card Concept Challenge #171 using their photo inspiration of the boots! The style is Clean and Layered.

Clicking on the "next" button will take you to Akiko. Clicking on the names listed below will take you directly to team members and their projects. Thank you for stopping by and hopping with us!

Amy Koenders
Mary Deatherage
Kristi Gray
Jaimie Babarczy
Sue Prather
Karen Finkle -- you are here!
Akiko Sudano
Karen Ksenzakovic
Tara Carpenter
Terry Lynn Bright

Stampin' Up! Painted Lavender Friendship Card for the Happy Inkin' Thursday Blog Hop

Thank you for stopping here from wherever you came! We have a sketch challenge today and here is what I created for our hop... I took a litt...