Showing posts with label animals. Show all posts

Monday, August 18, 2025

Stampin' Up! Beautiful Butterflies Birthday Card

Good Monday Morning Makeover to you, my stamping friends! Here's my makeover...


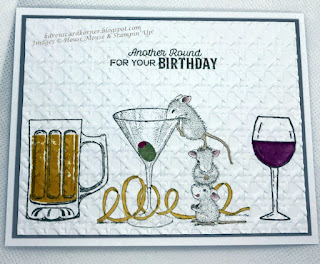
 Remember the original card?

 
Today's card just has different measurements so the flaps are square rather than rectangular. 
 
  • Card Base: 4 1/4" x 11", scored and folded at 5 1/2"
  • DSP Panel: 4" x 5 1/4"
  • Flaps: 3 3/4" x 3 1/2"; 3 2/4" x 3", scored and folded 1/4" from edge to make a square (long sides)
  • DSP for flaps 3 1/4" x 3 1/4" and 2 3/4" x 2 3/4"
  • Inside Panel: 4" x 5 1/4"
For the insides...


Project Details—All Products SU! Unless Otherwise Specified
Stamps Beautiful Butterflies "Time to Celebrate"; Nature's Harvest and Harvest Dies (retired) for coneflowers; Coneflower Celebrations (inside sentiment)
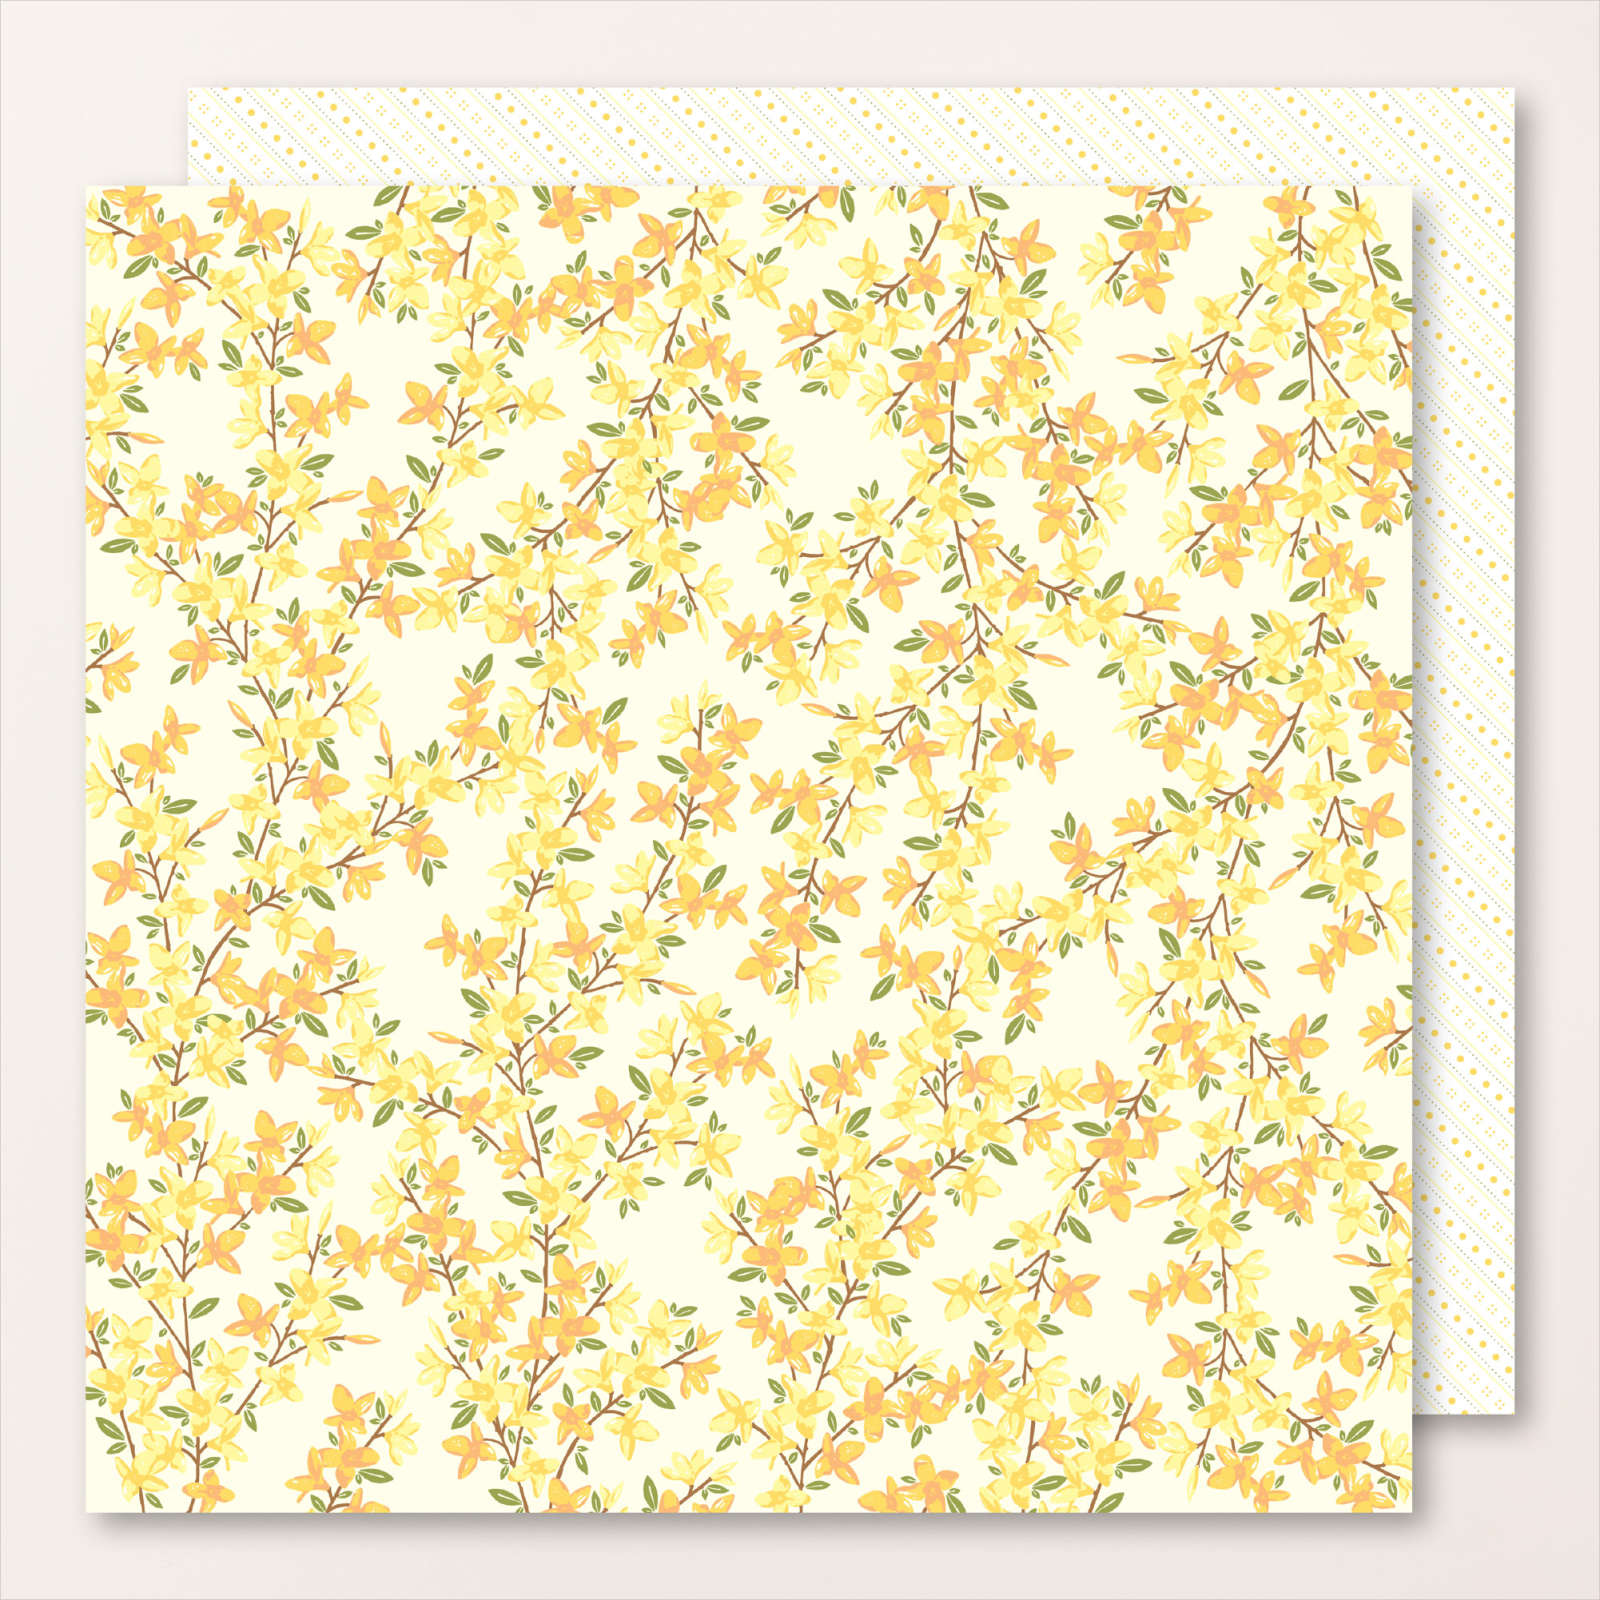
Card stock & Papers     Mossy Meadow; Basic White; Bokeh DSP; Splendid Autumn DSP
 Ink Memento Tuxedo Black; Pecan Pie, Daffodil Delight and Mossy Meadow Blends
Accessories Brushed Brass Butterflies
Tools     Well Written Dies ("Happy Birthday"); Beautiful Butterflies Hybrid EF

Friday, August 1, 2025

Stampin' Up! Otterly Adorable for the Creative Creases Challenge #106 Anything Goes with a Fun Fold

Welcome to our Anything Goes With a Fun Fold Challenge. If you haven't played at Creative Creases Challenge before, what are you waiting for? Hop on over to Challenge #106. We'd love to see your fun fold creation. Here's a snapshot of mine...


 I watched a video by Alyson Mayo and she calls this an M-Fold Card. It's a 6" x 6" card. Let me show you a larger photo...


My base is a piece of 12" x 12" Lemon Lime Twist card stock (retired) and is cut at 12" x 6", scored at 6". The center, of course, is at the 3" mark and you cut from that point down to the corners, diagonally. 

The DSP (Otterly Adorable - Last Chance List) on the two triangles that result from those cuts are formed by cutting a piece 5 3/4" x 5 3/4", cut from 2 7/8" center to the corners diagonally. Adhere with liquid glue.


For the inside, you will need a piece of DSP that measures 5 7/8" x 5 7/8". Adhere that with liquid glue.

For the triangle that shows on the back side of the front, you will need a piece of colored card stock that measures 5 7/8" x 5 7/8" . Find the center (2 15/16"?) and cut diagonally from there to each bottom corner. The two resulting triangles can be saved for another project. The big triangle can be embossed (Seaside - retired) and adhered with liquid glue.

I stamped the sentiment from Unbounded Love in Early Espresso before I embossed it.

After the fact, I adhered some embellishments but I didn't take another photo. I also turned this into an A2 card, which I will post on August 26th with directions.
 

Thank you for stopping by today and I can't wait to see all the creativity from the team.  Be sure to check us out at CCC#106 and we hope to see your entry there! Remember, you have a month to participate. .

Tuesday, July 22, 2025

Stampin' Up! Otterly Adorable Birthday Card for the Monthly Stampin' Up! Demos Fun Fold Blog Hop

 Hello my FB peeps! Welcome to our monthly Stampin' Up! Demos Fun Fold Blog Hop!! The participating demonstrators are listed at the end of my post. I hope you will choose to hop along. Here's what I created for the hop today...


My design came from Mystery Stamping night with Dani Gurrola (Pink Barn Stampers). She gives us measurements ahead of time and then we watch her to see how to put everything together! It's so fun and a different way to present mystery stamping. We must use her design in order to win a prize. Let me show you what she provides...

So, let me show you again what I created using her measurements and design...


 It's a different take on an easel card and I love it!

For my base, I chose Coastal Cabana. For the easel part I chose Pretty Peacock. My DSP is the retired Otterly  Adorable DSP. The gold foil is embossed with the retired Ornate Florals 3D EF. The ribbon is retired Lost Lagoon 3/8" and the sentiment is punched with the retired Pretty Labels Punch. The only current item is the sentiment from Unbounded Love!

For the inside...

More Otterly Adorable DSP and an Inkadinkadoo sentiment stamped in Pretty Peacock and cut with a retired Deco Label die.

As you can see, I am trying to use up old stuff before I buy new! Wish me luck with that!! I'm not having much luck dropping as a demo either...lol!

Thank you for stopping by today and I hope you will hop along with the list of demos.

  1. Karen Finkle
  2. Rae Burnet
  3. Debbie Mageed
  4. Su Mohr
  5. Beth McCullough
  6. Tara Beth Carpenter
  7. Mary Deatherage
  8. Lisa Ann Bernard
  9. Maria Mench
  10. Michele Deschenes
  11. Sue Jackson


Tuesday, July 8, 2025

Stampin' Up! Twist & Pop Birthday Card for Amy's Inkin' Krew Monthly Blog Hop

Hello my stamping friends! Welcome to our monthly Amy's Inkin' Krew hop. Our theme for this month is "fun fold" and we can  use any product we wish. Here is what I created for it using the Floral Delight DSP.


 Let's take a closer look, shall we?

I made this way back in June and I didn't make any notes on how I did it. I do know I tore the inked embossed section on both sides  and adhered it to the Lemon Lolly card base that was edged with the Floral Delight DSP.

The sentiment is from the retired Picture Perfect Birthday Stamp Set. The lady bug was created with the retired Lady Bug Builder Punch.

Let's take a look see at the inside...
 

More of the Floral Delight DSP, another lady bug, "Happy Birthday" from the Unbounded Love Stamp Set and "Celebrate the Good Stuff" from the retired Picture Perfect Birthday Stamp Set. My mats are Mossy Meadow card stock.

There are many videos on You Tube showing how to create this fold and I can't remember whose I used.

Thank you for stopping by today. Clicking on the "Previous" button will take you to Amy K., and clicking on the "Next" button will take you to Karen K. Clicking on the individual names will take you directly to each member's post. Trust me, you're in for a treat no matter what direction you hop! 

https://tarabethstamps.com/?p=569 

 List of Hoppers

  1. Karen Finkle - that's me!
 

Sunday, June 15, 2025

Stampin' Up! Feathered Fun Father's Day Card

Happy Father's Day is in order for my son-in-love. No, he's not my father but he is the father of JarJar. Jar is my grandson of the feathery kind. He is at least 26 years old and he is handsome but not pick-upable for me. 

Using Kendra Morgan's April 2025 digital and a couple of Stampin' Up! stamps, I created this card for JarJar to give his "dad" who loves bourbon!

JarJar is mostly green with a little blue and red. I love the colors in Kendra's digi (although my phone and printer didn't pick up the brilliance). I cut it out with the second to largest die in the Textured Notes Dies. I stamped the sentiment from the retired Adventurous Sky Stamp Set in retired Orchid Oasis Ink. The card base is retired Cucumber Crush Card Stock.

For the inside...

I stamped the sentiments (Orchid Oasis Ink) and glass of bourbon using the retired Whiskey Business Stamp Set. The bird is from the Feathered Fun Stamp Set. I stamped him in retired Wild Wasabi Ink and colored him with Light & Dark Granny Apple Green Blends and a Light Daffodil Delight Blend. The bourbon is colored with a retired Wild Wheat Stamp N' Write Marker, the ice cubes are colored with Gold Wink of Stella and the glass was stamped with Smoky Slate Ink. I don't have good luck coloring with markers and should have watercolored it.

Thank you for stopping by today and I hope you are having a blessed Sunday. 


Monday, May 26, 2025

Stampin' Up! Whiskey Business, Sip Sip Hooray and House Mouse Get Together

Good morning! Today's card is sort of a Makeover Monday Madness card. You see, back in 2023 I made the mice with three beverages...


You can well imagine that in two years, they had a family and that family is grown. The younger generation only likes martinis!

They still enjoy celebrating, just like the older generation!


I hope you enjoyed my card today and that you'll come back tomorrow for our Stampin' Up! Demos Fun Fold Monthly Blog Hop. 

                                                               Project Details—All Products SU! Unless Otherwise Specified
Stamps Martini Mice (House Mouse Stampendous); Sip Sip Hooray (retired); Whiskey Business (retired); birthday is a bequeathed stamp with no co.
Card stock & Papers     Basic White; Moody Mauve (retired); Lemon Lolly; Wrapped in Plaid DSP (retired); Night of Navy
 Ink Night of Navy; Memento Tuxedo Black; Assorted Blends
Accessories Dimensionals    
Tools     Star Punch

Thursday, March 13, 2025

Stampin' Up! Beautiful Butterflies for the Happy Inkin' Thursday Blog Hop

 Thank you for stopping here from wherever you came!! We have a sketch challenge for you today and here is a thumbprint of what I created for our hop...

  May be a graphic of text

Let's take a closer look...

Well, you know the why of my design, but do you know the why of my colors? Yes, they came from Jaydee at The Paper Players Challenge!

I'm also hoping CAS on Sunday: Challenge#304|Watercoloring will like that I chose to use watercolored butterflies and a watercolored sentiment panel. 

My card base is Basic White 5 1/2" x 8 1/2", scored at 4 1/4". I embossed it with the 3D Fern EF. I also embossed the 5 1/4" x 2" piece of Beautiful Bokeh DSP (Daffodil Delight) with the Beautiful Butterflies Hybrid EF

I watercolored a piece of Fluid 100 Watercolor Paper with a paint brush I had in my tool box. The inks I used were Balmy Blue, Bubble Bath and Lost Lagoon. These colors were used for the butterflies. I die cut them with a die from the Beautiful Butterflies Dies after I had stamped them (using the same color inks) with a stamp from the Beautiful Butterflies Photopolymer Stamp Set. I left a portion white  so I could watercolor it with another pastel color, Peach Pie. 

Once it dried, I stamped the sentiment, using Fresh Freesia ink, with part of a stamp from the photopolymer Spring Corner Stamp Set. Then I punched it out with the Modern Oval Punch. I adhered it with Dimensionals. I also adhered the three butterflies with Dimensionals.

I decided to finish the inside for an Easter card to be sent to one of our church shutins.

I used the retired Easter Friends Stamp Set to stamp the chick in Daffodil Delight. The sentiment "Happy Easter, Happy Spring" comes from the retired Timeless Tulips Stamp Set.

Thank you for stopping by! Clicking on the "next" button will take you to Akiko. Clicking on the names listed below will take you directly to team members and their projects. I hope you enjoy all the creativity.


Amy Koenders
Mary Deatherage
Karen Finkle - you are here!
Akiko Sudano
Karen Ksenzakovic
Tara Carpenter
Terry Lynn Bright


Tuesday, March 11, 2025

Stampin' Up! Beautiful Butterflies for Amy's Inkin' Krew Monthly Blog Hop


Hello my stamping friends! Welcome to our monthly Amy's Inkin' Krew hop. Our theme for this month is "Celebrate Spring" and we can interpret that any way we want and use any product we wish. Here is what I created for it using the Beautiful Butterflies Hybrid Embossing Folder and Dies...


 Let's take a closer look...

I was inspired by the SU January-April 2025 Mini Catalog and my team mate, Jaimie.

My card base is Thick Basic White 5 1/2" x 8 1/2", scored and folded at 4 1/4".

I cut a piece of Basic White 4" x 5 1/4", embossed it with the Beautiful Butterflies Hybrid Embossing Folder and sponged it with Calypso Coral ink. Then I cut it down to 3 1/4" x 5 1/4".

Next I cut a piece of Calypso Coral cardstock 1/4" x 5 1/4" and adhered it to the above piece.

Then I cut a strip of Beautiful Bokeh 6" x 6" DSP to 1 1/2" x 5 1/4" and adhered it to the card base. I adhered the embossed part to the front with Dimensionals.

Using a stamp from the April 2016 Paper Pumpkin Kit, I stamped "Happy Spring" on a scrap of Basic White in Pretty Peacock ink and punched it out with the Modern Oval Punch. I punched another out of Calypso Coral card stock for a mat.

I had a piece of Bright & Beautiful DSP on my desk that I had used the other day so I die cut some small butterflies and adhered them to the front and the inside. The strip along the bottom of the inside is from what I had cut for the front. 


The sentiments are from the Birthday Celebration Stamp Set, stamped in Pretty Peacock and Calypso Coral inks.

Thank you for stopping by today. Clicking on the "Next" button will take you to Mary, and clicking on the "Previous" button will take you to TOK (the other Karen!). Clicking on the individual names will take you directly to each member's post. Trust me, you're in for a treat no matter what direction you hop!

 https://tarabethstamps.com/?p=569

Christine King
Ann Louise Fodgaard
Karen Ksenzakovic
Karen Finkle - you are here!
Mary Deatherage
Akiko Sudano
Tara Carpenter
Amy Koenders

Wednesday, February 26, 2025

Stampin' Up! Floral Delight Easter Card

Happy mid-week, my stamping peeps! Since Easter is around the bend, I decided to create a card for one of our church shut ins. I think this will bring a smile to someone's face. I haven't finished the inside yet but the outside was done for the Double Trouble and TSOT challenges. (Update: I did finish the inside!) Let's take a look see and then I'll tell you about the challenges.


The Double Trouble challenge #185 is a little complicated and hopefully, I get it right! It's been awhile since I've played there. Here's the dealeo...


Thing 1: Trouble Maker


I used 3 embellishments: 3 Daffodil Party Spots

I have a number of layers on my cardbase (which is Lemon Lolly). You can't see it but the cut pieces are adhered using dimensionals to a 4 x 5 1/4" panel of Lemon Lolly. The DSP is from the Floral Delight package. To the end triangles, I adhered a strip of Lemon Lolly on the longer edges. I adhered the center triangle DSP with liquid glue.  The Old Olive "circle" is cut with a die from Stylish Shapes Dies and embossed with the Cane Weave 3D Embossing Folder. The duck is from the Storybook Moments Specialty DSP/Ephemera and adhered with liquid glue. The sentiment is another two layers. The Olive Green mat is cut with a die from Happy Hibiscus and the Lemon Lolly piece is cut with my trimmer. The greeting is from the retired Easter Message stamp set, stamped in Old Olive .  Et voila, the Hoodie Hoo challenge is done!

Thing 2: Double Dare

I played with TSOT Challenge #664 for the design


I had intended to play with Thing 3 but I adhered the wrong sides to the face of the card. The undersides have spring flowers. Maybe they'll give me credit when they see the paper...lol! 

                FLORAL DELIGHT 12" X 12" (30.5 X 30.5 CM) DESIGNER SERIES PAPER FLORAL DELIGHT 12" X 12" (30.5 X 30.5 CM) DESIGNER SERIES PAPER

But just in case they don't, here's the inside of my card...

Easter lilies and sentiment from the retired Easter Message Stamp Set! So just in case this is acceptable, I'll play with Thing 3: Twisted Sister as well as the lilies are seasonal flowers, I think.


Thank you for stopping by today and I hope you'll be back tomorrow for our weekly Happy Inkin' Thursday Blog Hop.


Saturday, February 15, 2025

Stampin' Up! Wildflower Designs Thank You Card

Happy Saturday, my peeps! Did you have a good Valentine's Day? Lots of chocolate? flowers? cards? Well, just in case it didn't happen, it didn't happen for me either! I am making a Valentine dinner for my family tonight so maybe you've got plans to celebrate today too. The reason I didn't celebrate yesterday is because I'm having some rooms repainted in the condo I've been in for a year. Let me show you the colors I chose...

My card base is Soft Sea Foam with a mat of Lost Lagoon and that middle square is a little off. Wish my naked eye could see what the camera sees!
 
I stamped the sentiment in Lost Lagoon and the flowers in Pretty in Pink on the Basic White panel. I added 5 Adhesive-Backed Dragonflies to the front and raised the squares with Dimensionals.
 
The Wildflower Birthday Specialty Designer Series Paper was the inspiration for my color choices of my kitchen, guest bath, and laundry room. 
 
For the inside...
 
 
The living room was already a basic gray but I went with a lighter shade as I only have a sliding glass door for natural light on the main level. The dragonfly from the retired Dragonfly Garden Stamp Set is stamped in Smoky Slate and the sentiment from the retired Treasured Kindness Stamp Set in Lost Lagoon. I added another gold dragonfly.
 
Although the names of the paint were not those of SU, the paint samples were quite close. I made the card for the painters as they were extremely kind and went above and beyond doing things that I couldn't do myself. It was a mother and son team and they love dragonflies. I will miss them when they are done.

My design came from Mystery Stamping with Dani Gurrola and you can see her create her card here

Measurements:

Base: 4 1/4" x 11", scored and folded at 5 1/2

Lost Lagoon Mat: 4 1/8" x 5 3/8"

Basic White: 4" x 5 1/4" (2)

Soft Sea Foam Mats: 5/8" x 4 1/8"; 1 1/8" x 1 1/8" (3)

DSP: 1/2" x 4"; 1" x 1" (3) 


Thank you for stopping by today and I hope you are having a great weekend.


Friday, January 3, 2025

Stampin' Up! Quiet Reflections Sympathy Card for the Creative Creases Challenge #99 - Anything Goes with a Fun Fold

Welcome to our Anything Goes With a Fun Fold Challenge. If you haven't played at Creative Creases Challenge before, what are you waiting for? Hop on over to Challenge #99. We'd love to see your fun fold creation. Oh, and by the way, Happy New Year! Here's a snapshot of mine...

Let's take a closer look, shall we?

No one likes to make a sympathy card, but I think with the Quiet Reflections Stamp Set and beautiful Thoughtful Journeys DSP, it becomes easier.

I created the design of this fun fold with the help of Connie Stewart at Simply Simple Stamping. Here are my deets:

Card Base: Misty Moonlight cut at 5 1/2" x 8 1/2", scored and folded at 1 1/4" and 5 1/2"

Mats: Petunia Pop cut at 1" x 5 1/4" (2); 2 3/4" x 5 1/4" (2); and 4" x 5 1/4" (cut the mat for the sentiment out of the top portion to save cardstock!)

DSP cut at 3/4" x 5" (2), 2 1/2" x 5" (2); you can get the template by going to Connie's website or her video on You Tube

Basic White: 3 3/4" x 5" for inside; 2 1/2" x 2 1/2" for circle sentiment

Petunia Pop Ink for stamping sentiments

Two Tone Sparkle Gems (Online Exclusive available 1/7/25)

Brushed Brass Butterflies

Velcro to hold flaps closed

Here's a look at the inside...

NEWS FLASH!! Creative Creases Challenge will be changing from biweekly to monthly ...  see you on February 7th for the next CCC! 

Thank you for stopping by today and I can't wait to see all the creativity from the team. Be sure to check us out at CCC#99 and we hope to see your entry there!

Stampin' Up! Beautiful Gallery Thinking of You Fun Fold Friday

Yay, it's Friday...a fun fold Friday at that! Here's what I created for today. My design came from Mystery Stamping night with Dani...